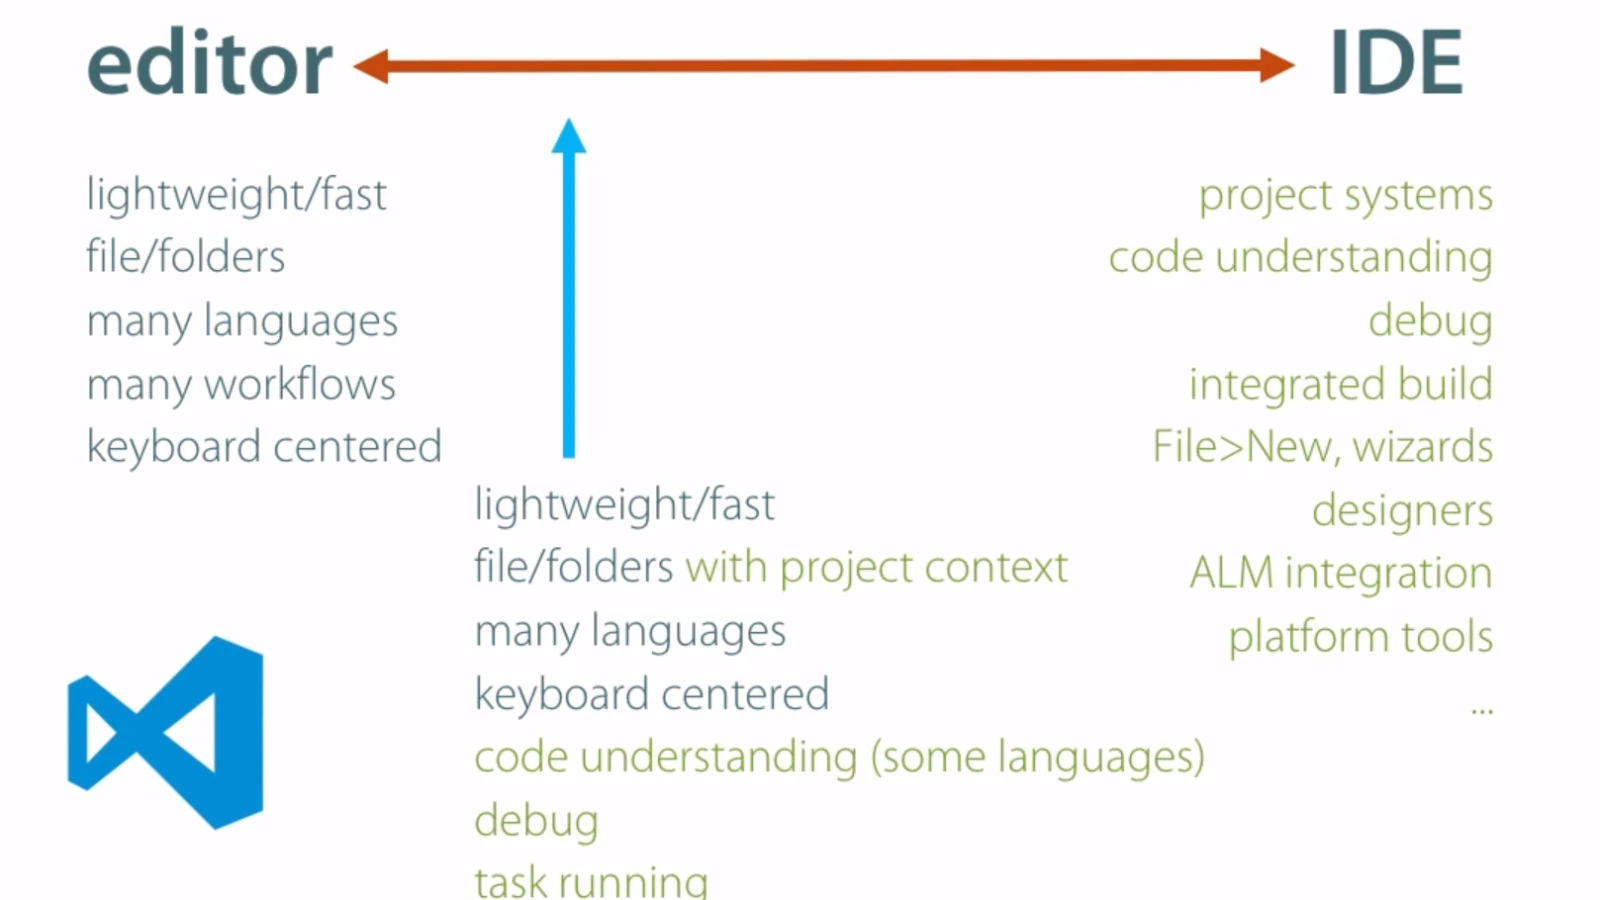
♻VScode插件开发流程.
前期准备
首先准备好点子(扩展,主题啥的)具体是想要做啥.
推荐借鉴一下的简单项目: https://github.com/Weidows-projects/vscode-weidows-theme
开发
可以照葫芦画瓢,反正基本都是开源的,别乱复制粘贴就好.
vscode 插件开发可以用
Yeoman:npm install -g yo generator-code
使用:
yo
具体怎么使用,暂时不造,先记着.
打包
安装
vscenpm install -g vsce
使用
vsce package
使用后会把当前目录下所有东西打包成
*.vsix
发布
网页发布
右上角有个
publish extension,注册登录账号之后你的账号应该有一个组织,在组织下新建一个
publisher然后摸索摸索,把
*.vsix这个文件传上去就 OK 了.
也可以看一下这个地方,介绍了怎么注册账号和 获取 PAT(Personal Access Token)
命令行发布
这种发布方法比较适合结合 GitHub 使用,自动化流程.
按着图操作
然后复制获得的 token,下面就可以发布了
vsce publish -p 这里写复制的token
发布失败的话检查一下 token 是否有效.
这个可以结合 GitHub Action,实现自动发布.
结合 GitHub
发现 package.json 中必须用 https 协议传输数据,于是 local 的 images
无法显示- 意思就是
./xxx.jpg根本显示不出来. - 必须使用
https://xxx.jpg才行.
- 意思就是
这导致一些图片并不需要打包在插件里(因为是引用的 URL)
- 而且这些图片要是想显示,必须有个图床.
那还想啥? 肯定是 GitHub 啊!
我的方案是本地 Git 开发 -> GitHub
把项目中引用的图片放在 GitHub 上,通过
.vscodeignore文件排除插件需要打包的内容(图片)
剖析 package.json
借用
Git Graph插件简单分析一下 package 中的配置 (因为文件过长,已删掉一部分){
// 插件注册名
"name": "git-graph",
// 插件显示的名字
"displayName": "Git Graph",
// 版本
"version": "1.29.0",
// 发布者(只能一人)
"publisher": "mhutchie",
// 作者(多人)
"author": {
"name": "Michael Hutchison",
"email": "mhutchie@16right.com"
},
// 插件描述
"description": "View a Git Graph of your repository, and perform Git actions from the graph.",
// 关键词(供搜索用)
"keywords": ["git", "graph", "visualise", "diff", "action"],
"categories": ["Other"],
"homepage": "https://github.com/mhutchie/vscode-git-graph",
"repository": {
"type": "git",
"url": "https://github.com/mhutchie/vscode-git-graph.git"
},
"bugs": {
"url": "https://github.com/mhutchie/vscode-git-graph/issues"
},
// Question & answer
"qna": "https://github.com/mhutchie/vscode-git-graph/wiki/Support-Resources",
"license": "SEE LICENSE IN 'LICENSE'",
// 插件图标
"icon": "resources/icon.png",
"engines": {
"vscode": "^1.38.0"
},
"extensionKind": ["workspace"],
"activationEvents": ["*"],
// 入口文件
"main": "./out/extension.js",
// 对接vscode接口
"contributes": {
// 命令面板的命令
"commands": [
{
"category": "Git Graph",
"command": "git-graph.view",
"title": "View Git Graph (git log)",
"icon": {
"light": "resources/cmd-icon-light.svg",
"dark": "resources/cmd-icon-dark.svg"
}
},
{
"category": "Git Graph",
"command": "git-graph.addGitRepository",
"title": "Add Git Repository..."
}
],
// 插件的设置
"configuration": {
"type": "object",
"title": "Git Graph",
"properties": {
"git-graph.commitDetailsView.autoCenter": {
"type": "boolean",
"default": true,
"description": "Automatically center the Commit Details View when it is opened."
},
"git-graph.commitDetailsView.fileView.fileTree.compactFolders": {
"type": "boolean",
"default": true,
"description": "Render the File Tree in the Commit Details View in a compacted form, such that folders with a single child folder are compressed into a single combined folder element."
}
}
},
// 插件在vscode界面的显示
"menus": {
"scm/title": [
{
"when": "scmProvider == git && config.git-graph.sourceCodeProviderIntegrationLocation == 'Inline'",
"command": "git-graph.view",
"group": "navigation"
},
{
"when": "scmProvider == git && config.git-graph.sourceCodeProviderIntegrationLocation == 'More Actions'",
"command": "git-graph.view",
"group": "inline"
}
]
}
},
// 开发用的脚本
"scripts": {
"test": "jest --verbose",
"test-and-report-coverage": "jest --verbose --coverage"
},
// 运行依赖
"dependencies": {
"iconv-lite": "0.5.0"
},
// 开发依赖
"devDependencies": {
"typescript": "4.0.2",
"uglify-js": "3.10.0"
},
"__metadata": {
"id": "438221f8-1107-4ccd-a6fe-f3b7fe0856b7",
"publisherId": "996496dc-099f-469d-b89c-0d7713179365",
"publisherDisplayName": "mhutchie"
}
}
文章推荐
本博客所有文章除特别声明外,均采用 CC BY-NC-SA 4.0 许可协议。转载请注明来自 ⭐️齐下无贰⭐️!
评论


